How to Fix a Moen Kitchen Faucet That Won’t Turn Off: A Step-by-Step Guide
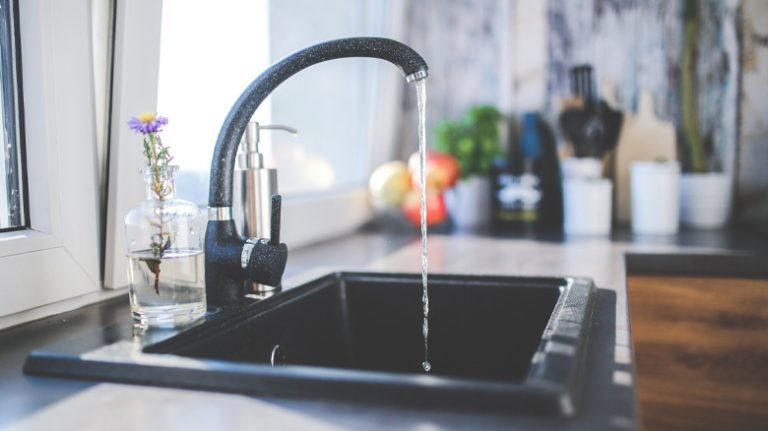
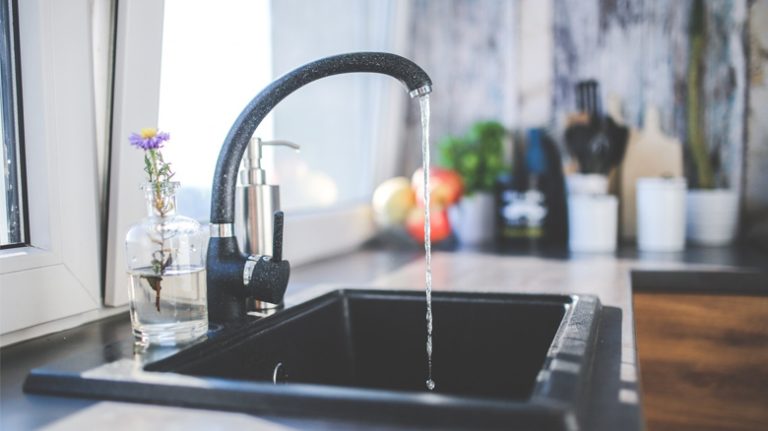
A Moen kitchen faucet that won’t turn off can quickly turn from a minor annoyance into a major headache. Water keeps flowing, your sink becomes a mess, and your water bill climbs—sound familiar? You’re not alone. Many homeowners face this issue with their Moen faucets, whether it’s a single-handle model, a two-handle design, or even a high-tech MotionSense touchless version. The good news? You can often fix it yourself without calling a plumber. In this guide, we’ll dive deep into why your Moen kitchen faucet refuses to shut off, how to troubleshoot it, and the practical steps to restore it to perfect working order. Plus, we’ll sprinkle in some extra tips to maintain your faucet and prevent future problems.
Why Your Moen Kitchen Faucet Won’t Turn Off
Before grabbing your toolbox, let’s understand the root causes. A faucet that won’t stop running isn’t just bad luck—it’s usually a sign of wear, damage, or a glitch in one of its key components. Here are the most common culprits:
- Worn-Out Cartridge: The cartridge controls water flow in single-handle Moen faucets. Over time, it can degrade, crack, or become misaligned, preventing a tight seal.
- Faulty O-Rings or Washers: These small rubber seals wear out with use, leading to leaks or constant dripping even when the handle is off.
- Damaged Valve Seat: The valve seat connects the faucet to the spout. Corrosion or debris here can disrupt the shut-off mechanism.
- Loose Handle: A handle that’s not properly tightened can fail to fully close the water flow.
- MotionSense Sensor Issues: For touchless models, a malfunctioning sensor or control box might keep the water running unexpectedly.
- Water Pressure Problems: Excessive pressure in your plumbing system can overwhelm the faucet’s ability to shut off properly.
Each of these issues ties back to the faucet’s core function: regulating water flow. When one part fails, the whole system falters. Let’s fix it.
Tools You’ll Need to Fix Your Moen Faucet
To tackle this repair, gather these essentials:
- Adjustable wrench or basin wrench
- Phillips and flathead screwdrivers
- Allen wrench (usually 7/64” or 3/32” for Moen faucets)
- Replacement cartridge (specific to your Moen model—check the manual or Moen’s website)
- O-rings or washers (Moen service kits often include these)
- Silicone-based grease (avoid petroleum-based lubricants)
- Clean cloth or towel
- Safety glasses (optional but smart)
Got everything? Great. Let’s stop that water flow.
Step 1: Shut Off the Water Supply
First things first—stop the water before you start disassembling. Under your sink, locate the shut-off valves (one for hot, one for cold). Turn them clockwise until they’re fully closed. If your kitchen doesn’t have individual shut-off valves, turn off the main water supply to your home. Open the faucet to release any remaining pressure and confirm the water’s off. No surprises here—just a dry workspace.
Step 2: Diagnose the Problem
Now, let’s pinpoint why your Moen kitchen faucet won’t turn off. Start by observing:
- Single-Handle Faucet: Does the handle feel loose or spin without stopping the water? The cartridge or handle mechanism is likely the issue.
- Two-Handle Faucet: If one side (hot or cold) keeps running, focus on that handle’s cartridge or washer.
- MotionSense Faucet: If the water flows even with the handle off, the sensor or control box might be malfunctioning.
Remove the handle to inspect further. For most Moen single-handle faucets, pop off the red/blue plug on top, then use an Allen wrench to loosen the set screw. For two-handle models, the screw is often under a decorative cap. Lift the handle off gently.
Step 3: Inspect and Replace the Cartridge
The cartridge is the heart of most Moen kitchen faucets. If it’s worn or damaged, water won’t stop flowing. Here’s how to handle it:
- Remove the Cartridge: After taking off the handle, you’ll see a retaining clip or nut holding the cartridge. Use a wrench to loosen the nut or pull the clip with pliers.
- Check for Damage: Look for cracks, mineral buildup, or wear. If it’s anything less than pristine, replace it.
- Install a New Cartridge: Moen often provides free replacements under their lifetime warranty—call their support or buy a matching part (e.g., the 1255 Duralast cartridge for many models). Align the new cartridge properly (notches should match), then secure it with the clip or nut.
Pro tip: Apply a thin layer of silicone grease to the cartridge’s O-rings to ensure smooth operation.
Step 4: Fix O-Rings and Washers
If the cartridge looks fine, the O-rings or washers might be the problem. These seals sit inside the spout or under the handle:
- Spout O-Rings: Unscrew the spout collar (counterclockwise) and lift the spout. Replace any cracked or brittle O-rings with ones from a Moen service kit.
- Handle Washers: For two-handle faucets, remove the stem beneath each handle. Swap out worn washers with new ones of the same size.
Reassemble and test. Still leaking? Move to the next step.
Step 5: Troubleshoot MotionSense Faucets
Own a Moen MotionSense faucet? If it won’t turn off, the issue might be electronic:
- Reset the Sensor: Find the control box under the sink (gray or black). Disconnect the battery pack or AC adapter and the data cable. Wait 1-2 minutes, then reconnect. The sensor should recalibrate (look for a blue LED flash).
- Check the Handle: Ensure it’s fully in the “off” position—sometimes it’s bumped on accidentally.
- Inspect the Solenoid: A faulty solenoid in the control box can keep water flowing. Contact Moen for a replacement if resetting doesn’t work.
Step 6: Clean or Replace the Valve Seat
A corroded or debris-clogged valve seat can prevent a proper seal. Use a wrench to remove it (it’s at the base of the cartridge chamber), then clean it with vinegar or a wire brush. If it’s too damaged, replace it with a new one from a hardware store. Reassemble everything and turn the water back on to test.
Step 7: Test and Fine-Tune
Turn the shut-off valves back on (counterclockwise) and slowly open the faucet. Does it stop when you close it? If yes, you’re golden. If not, double-check your work:
- Tighten any loose connections.
- Ensure the cartridge and O-rings are seated correctly.
- For MotionSense models, repeat the sensor reset.
When to Call a Plumber
Most Moen faucet fixes are DIY-friendly, but some situations call for a pro:
- Persistent leaks after replacing parts.
- Severe corrosion or damage to the faucet body.
- Water pressure issues beyond the faucet (a whole-house problem).
Plumbers can also handle warranty claims if Moen’s support sends parts but the fix feels out of your depth.
Preventing Future Faucet Problems
Fixed your faucet? Keep it running smoothly with these maintenance tips:
- Regular Cleaning: Wipe down the aerator and spout to prevent mineral buildup.
- Check Seals: Inspect O-rings and washers yearly for wear.
- Lubricate Moving Parts: Use silicone grease on cartridges and stems every couple of years.
- Monitor Water Pressure: Install a pressure regulator if your home’s pressure exceeds 80 PSI.
Bonus: Understanding Moen’s Warranty
Moen offers a lifetime warranty on many faucets, covering leaks and drips. If your faucet qualifies, contact their customer service with your model number (found on the spout or manual). They’ll often send free replacement parts like cartridges or O-rings, saving you a trip to the store.
Final Thoughts
A Moen kitchen faucet that won’t turn off doesn’t have to ruin your day. With a bit of patience and the right approach, you can stop the flow and reclaim your sink. Whether it’s a stubborn cartridge, a sneaky O-ring, or a glitchy MotionSense sensor, this guide has you covered. Tackle the repair, enjoy the satisfaction of a job well done, and keep your faucet in top shape for years to come. Got questions or a tricky case? Drop a comment below—I’m here to help!